Predator-proofing a coop, step by step
Three upgrades, one afternoon, and a materials list that costs a fraction of the coop.
We have not handled these coops, and we do not pretend to have. Here is what we did instead. Links to Amazon earn us a commission at no extra cost to you - disclosure.
| # | Coop | Best for | Honest count | Price |
|---|---|---|---|---|
| 1 | 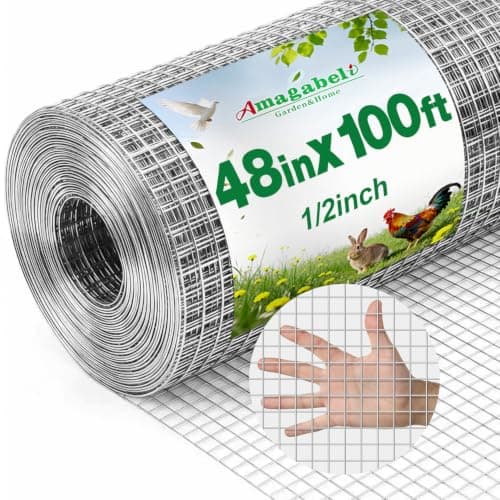 Amagabeli 1/2" Hardware Cloth, 48in x 100ftTop pickHalf-inch aperture, 19 gauge, hot-dipped galvanized after welding. This is the specification that actually keeps raccoons out. | The single most important predator purchase | not published | |
| 2 | 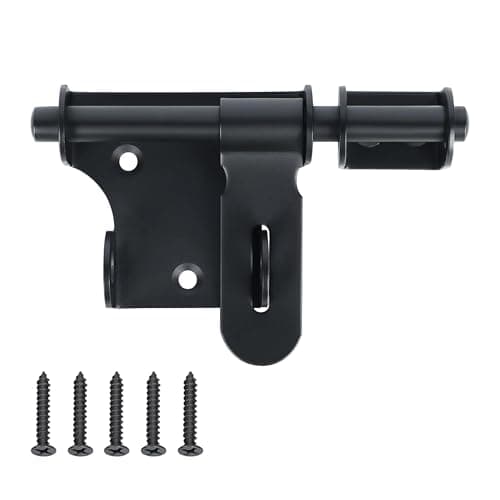 Alise 4in Slide Bolt Latch with Padlock HoleA slide bolt with a padlock hole. The padlock hole is the whole point - raccoons defeat simple bolts. | A latch a raccoon cannot work | not published | |
| 3 | 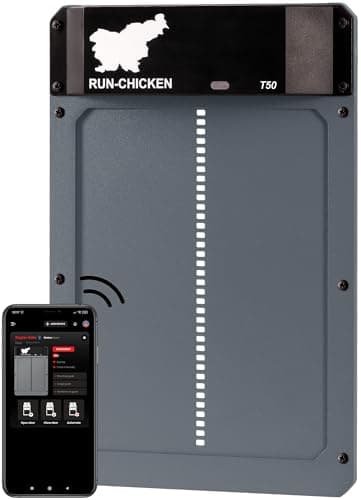 RUN-CHICKEN Door T50 Automatic OpenerBattery-powered aluminum with app and timer control. The one automatic door here that does not depend on winter sun. | The door that just keeps working | not published |
Do this before the birds go in. Every step is easier while the coop is still in pieces on the lawn, and the alternative is doing the same work later around a flock that is already using the space.
Materials list
- Half-inch hardware cloth, 19 gauge. A 48in x 100ft roll covers a typical coop-and-run kit with material spare.
- Poultry or fencing staples, plus a staple gun rated for them, or galvanized screws and washers for thin cladding.
- Landscape staples for the apron - a bag of 50 is plenty for a small run.
- One slide bolt with a padlock hole per opening, plus a spring carabiner for each.
- Tin snips or an angle grinder, and gloves. Cut hardware cloth is genuinely sharp.
Step 1 - replace the mesh
- Remove or leave the supplied chicken wire in place - either is fine, since hardware cloth goes over the top and the old wire adds a little rigidity.
- Cut hardware cloth to each panel with 2 inches of overlap at every seam.
- Staple into framing timber every 3 to 4 inches. Not every foot - a raccoon works the gaps between fixings.
- On thin fir cladding, use screws with washers or a thin batten over the edge, because a staple pulls straight through fir.
- Fold and tuck cut edges rather than leaving them proud.
- Do the vents and windows too. They are openings like any other.
Step 2 - latch every opening
Not just the door. Walk around the coop and count every panel that opens: main door, nest-box lid, clean-out tray, pop door, run gate. Each one gets a bolt with a carabiner through the hasp, or a two-motion latch. Fix into framing rather than cladding, and use longer screws than the ones in the packet.
Step 3 - lay the apron
- Cut hardware cloth into strips about 18 inches wide, enough for the whole perimeter.
- Fasten the inner 4 to 6 inches to the base of the run wall, leaving no gap at the junction.
- Lay the remaining 12 inches flat on the ground, outward, following the ground contour.
- Pin every 12 to 18 inches with landscape staples, more often on soft ground.
- Overlap strips 3 inches at joints, and cut proper corner pieces rather than leaving triangles of bare ground.
- Mulch or soil over the top if you want it to vanish faster. Grass will grow through it either way.
The full reasoning for an apron over a buried perimeter is on digging predators.
Step 4 - the habit
Shut the flock in at dusk. It is the single highest-value routine in keeping chickens and the one you will eventually miss, which is the argument for an automatic pop door. Then remove the attractions: feed in a metal bin with a fastened lid, feeders in at night or a treadle feeder, spillage cleared.
The shopping list, priced
Top pick · The single most important predator purchase
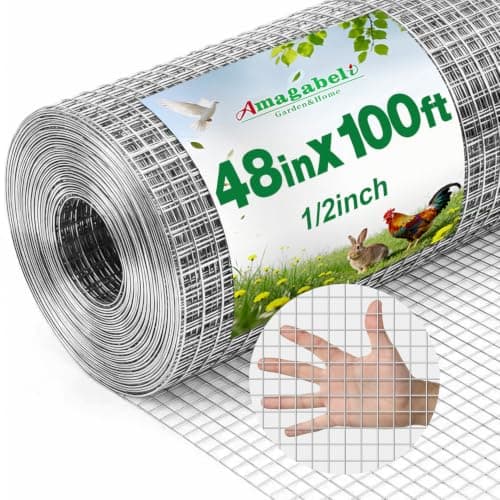
Amagabeli 1/2" Hardware Cloth, 48in x 100ft
Half-inch aperture, 19 gauge, hot-dipped galvanized after welding. This is the specification that actually keeps raccoons out.
What the numbers say
The manufacturer does not publish the dimensions this calculation needs, so we do not print a number.
Figures from Amagabeli published specifications (Amazon listing)
Half-inch aperture is the number that matters. A raccoon can reach through 1in mesh and a weasel walks through 1in chicken wire; half-inch stops both.
Galvanized AFTER welding, not before, is the second specification to check. Welding burns the coating off, so mesh galvanized beforehand rusts at every joint - which is exactly where it needs to hold.
19 gauge is the practical minimum for a coop perimeter. Thinner mesh sold as hardware cloth exists and bends open by hand.
Good
- Half-inch aperture excludes raccoons and weasels
- Hot-dipped galvanized after welding, so joints do not rust first
- 48in width covers most run walls in a single run
Not so good
- Cutting it is hard on the hands and on your snips
- 100ft is more than a small coop needs
- Edges are sharp and need capping or folding
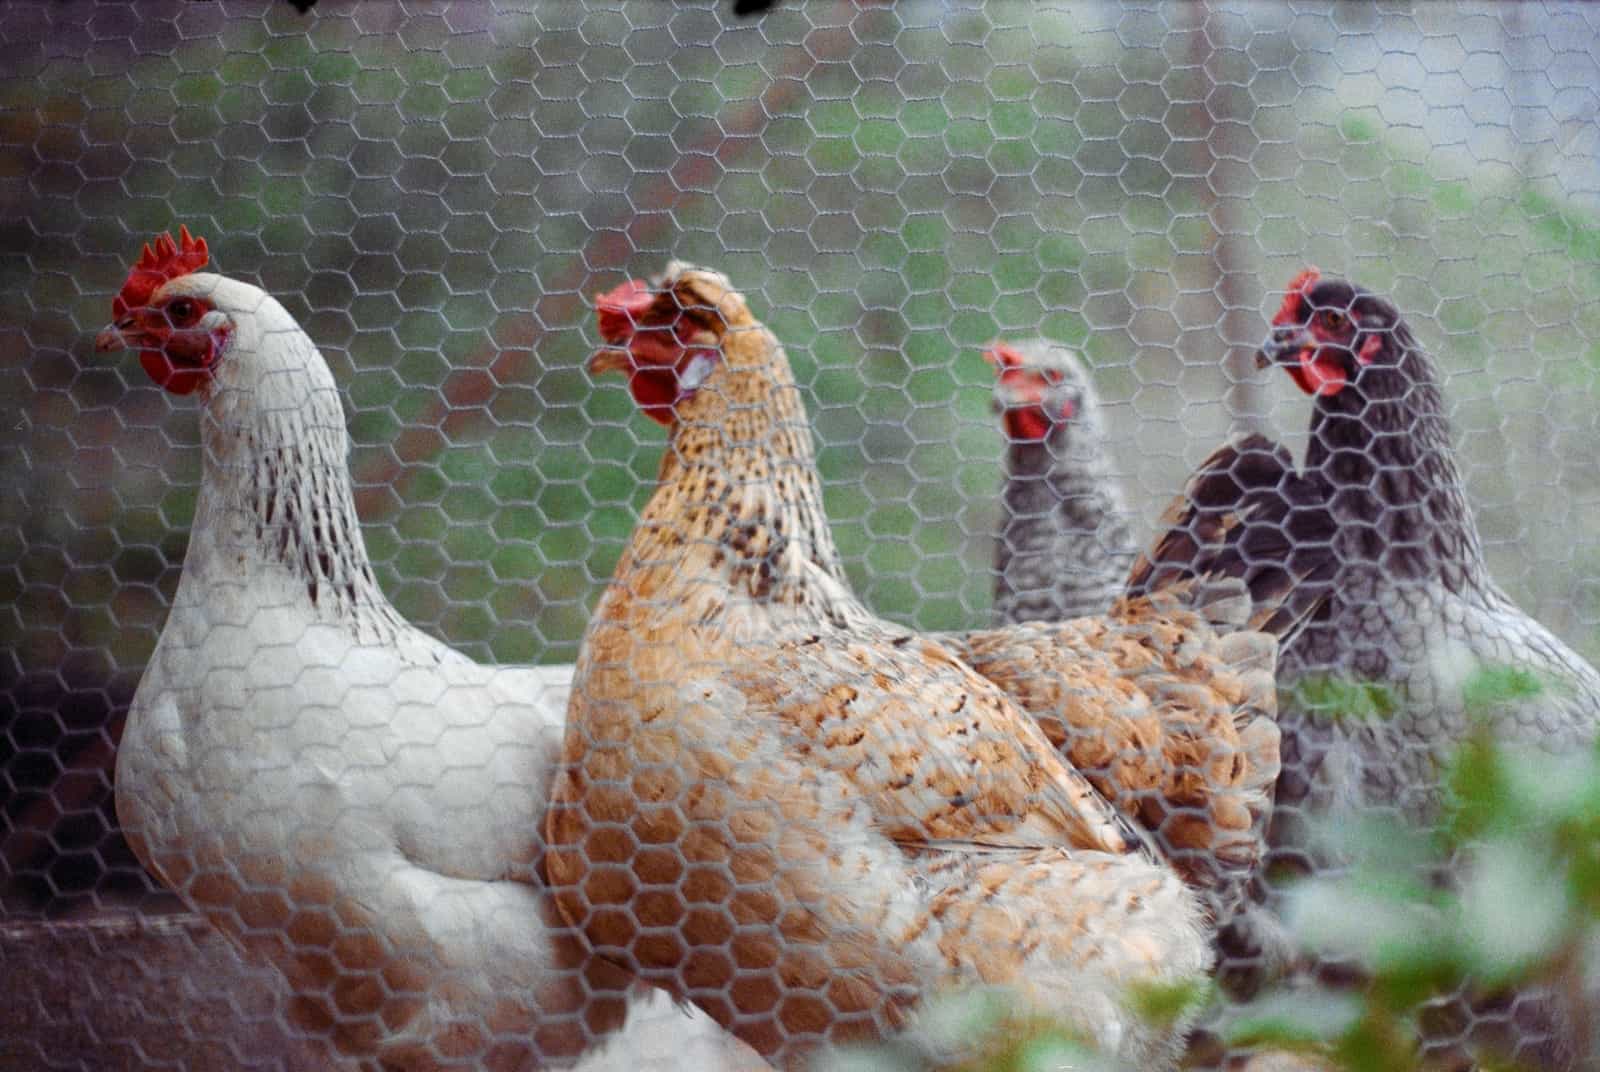
Skip this if: only if you already have half-inch hardware cloth. Do not substitute chicken wire - it is a containment material, not a security one.
#ad · how this is funded · price as of October 17, 2026
Pick 2 · A latch a raccoon cannot work
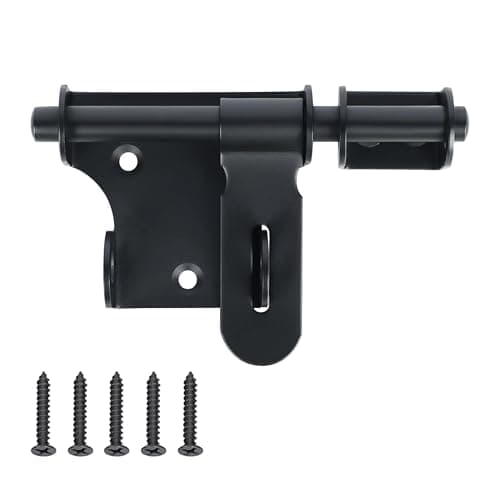
Alise 4in Slide Bolt Latch with Padlock Hole
A slide bolt with a padlock hole. The padlock hole is the whole point - raccoons defeat simple bolts.
What the numbers say
The manufacturer does not publish the dimensions this calculation needs, so we do not print a number.
Figures from Alise published specifications (Amazon listing)
Raccoons have functional thumbs and genuinely do open simple slide bolts, hook-and-eyes and turn buttons. This is the most commonly underestimated failure point on a coop.
The padlock hole is what upgrades this from a catch to a lock. A carabiner through it is enough; it does not need an actual padlock.
Fit two on a large door - top and bottom - so the door cannot be flexed open at a corner.
Good
- Padlock hole defeats the raccoon problem
- Works with a carabiner, no key needed
- Steel construction rather than cast zinc
Not so good
- Needs a second one for a tall door
- Requires accurate fitting to slide freely after weathering
- Black finish will need touching up where it is scratched
Skip this if: your coop door already takes a padlock or a two-step latch. Otherwise this is the cheapest meaningful security upgrade you can make.
#ad · how this is funded · price as of October 17, 2026
Pick 3 · The door that just keeps working
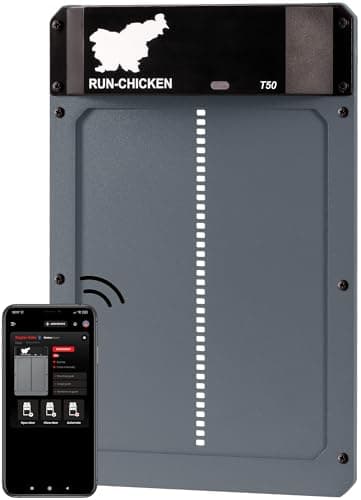
RUN-CHICKEN Door T50 Automatic Opener
Battery-powered aluminum with app and timer control. The one automatic door here that does not depend on winter sun.
What the numbers say
The manufacturer does not publish the dimensions this calculation needs, so we do not print a number.
Figures from RUN-CHICKEN published specifications (Amazon listing) · 13.8"L x 9.4"W x 1.3"H · Aluminum
Battery rather than solar is the important choice. A solar door's worst performance and your longest nights arrive in the same week, which is exactly when a door failing open costs you a flock.
Aluminum construction rather than plastic matters at the door itself, because this is the part a raccoon works at.
App and timer control both present, so it works whether or not you want it on your phone.
Good
- Battery power is unaffected by December daylight
- Aluminum door rather than plastic
- Timer and app control both supported
Not so good
- Batteries need replacing on a schedule you must remember
- Costs more than the solar units
- Opening size fixed by the unit
Skip this if: you have no way to check on it. Any automatic door needs an occasional look; a battery one needs its cells thought about before winter.
#ad · how this is funded · price as of October 17, 2026
Signals are not barriers
One thing deliberately absent from the list above: deterrents. Flashing predator lights, radios and scent repellents are frightening devices, and published wildlife damage guidance frames those as useful for reducing losses during short periods, with habituation named as the reason they stop working. Everything in this guide is a barrier instead, and a barrier does not habituate. Predator deterrent lights sets out where they genuinely fit.
Check it afterward
- Push every panel hard with your hands. Anything that flexes will move for a dog.
- Try each latch with one hand and your eyes shut. If you can work it that way, so can a raccoon.
- Walk the perimeter looking for a gap between apron and wall. That junction is the whole point of the apron.
- Look for gaps at the roofline larger than half an inch - those are how weasels and rats get in.
- Check again after the first hard rain, when the ground has settled and moved.
- Look for gaps at the roofline, around vents and where an external nest box bolts on - weasels and mink use the openings the wall mesh never covered.
Questions people actually ask
+How do you predator-proof a chicken coop?
+How long does it take to predator-proof a coop?
+What does it cost to predator-proof a coop?
+Do I need to do this on a brand new coop?
Sources
Read next
Predator-proofing, as numbers rather than adjectives
The three specifics that decide whether a coop holds - aperture, gauge and latch - with the products that fix what every kit gets wrong.
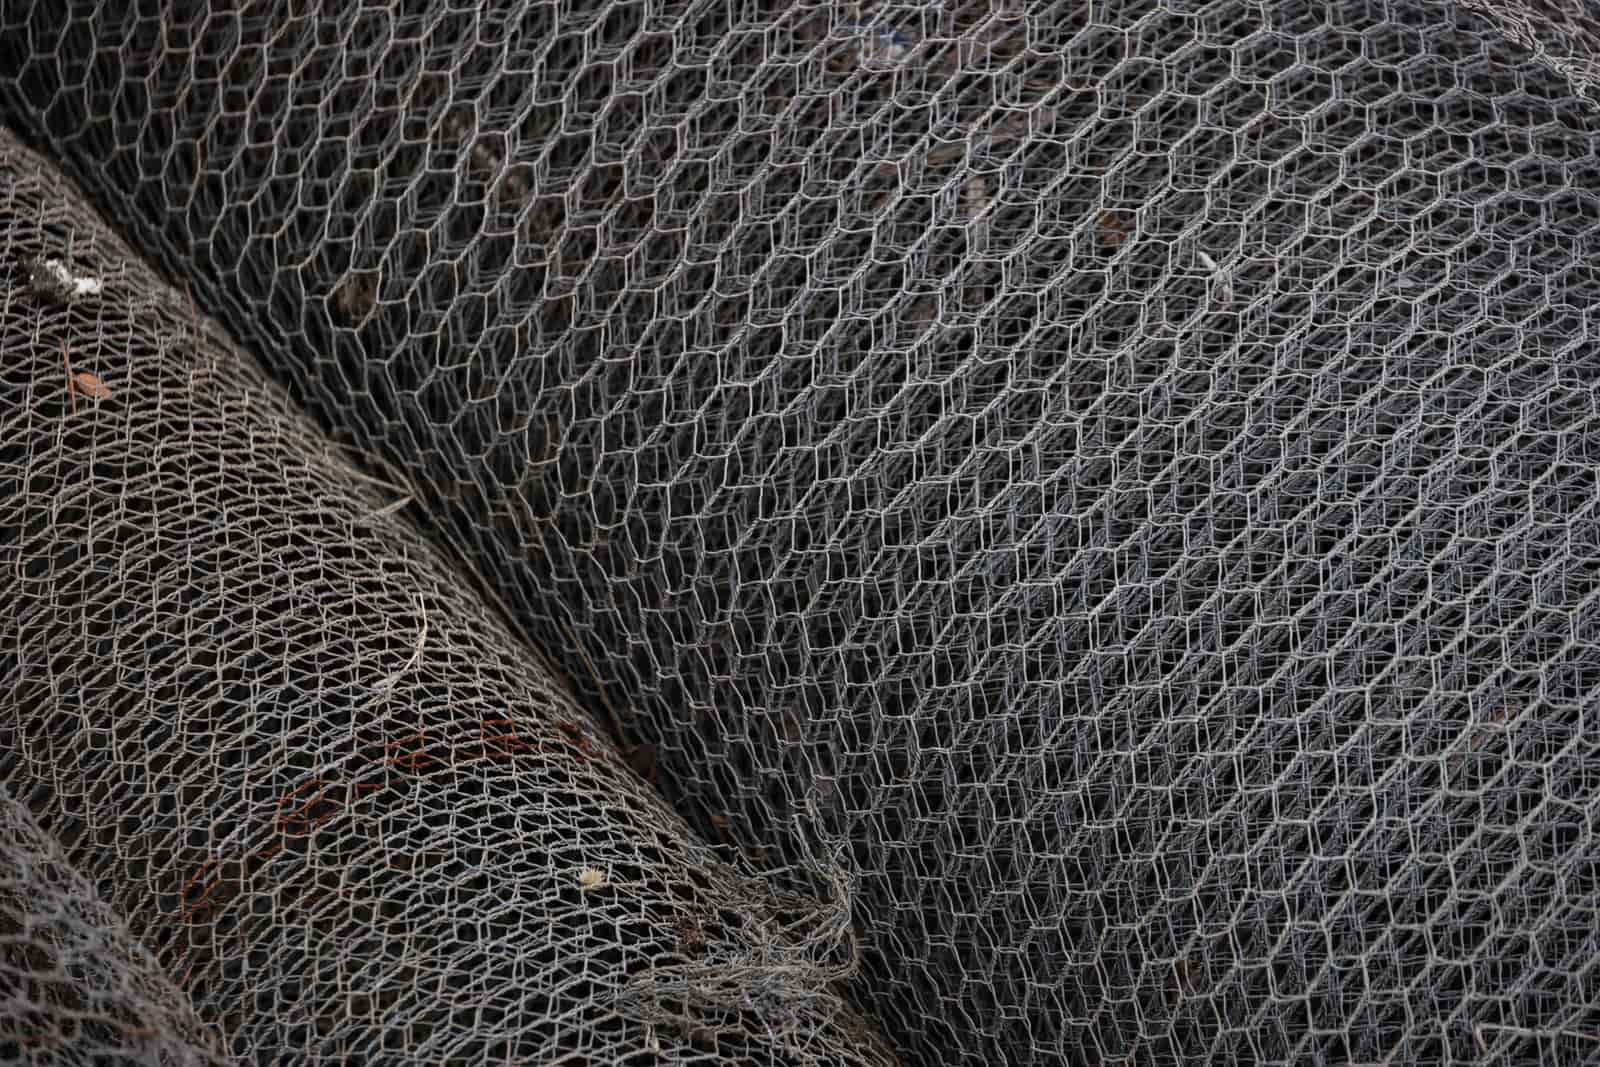
Hardware cloth against chicken wire
Why hexagonal chicken wire fails, what gauge and aperture to buy instead, and how many feet a typical coop actually needs.
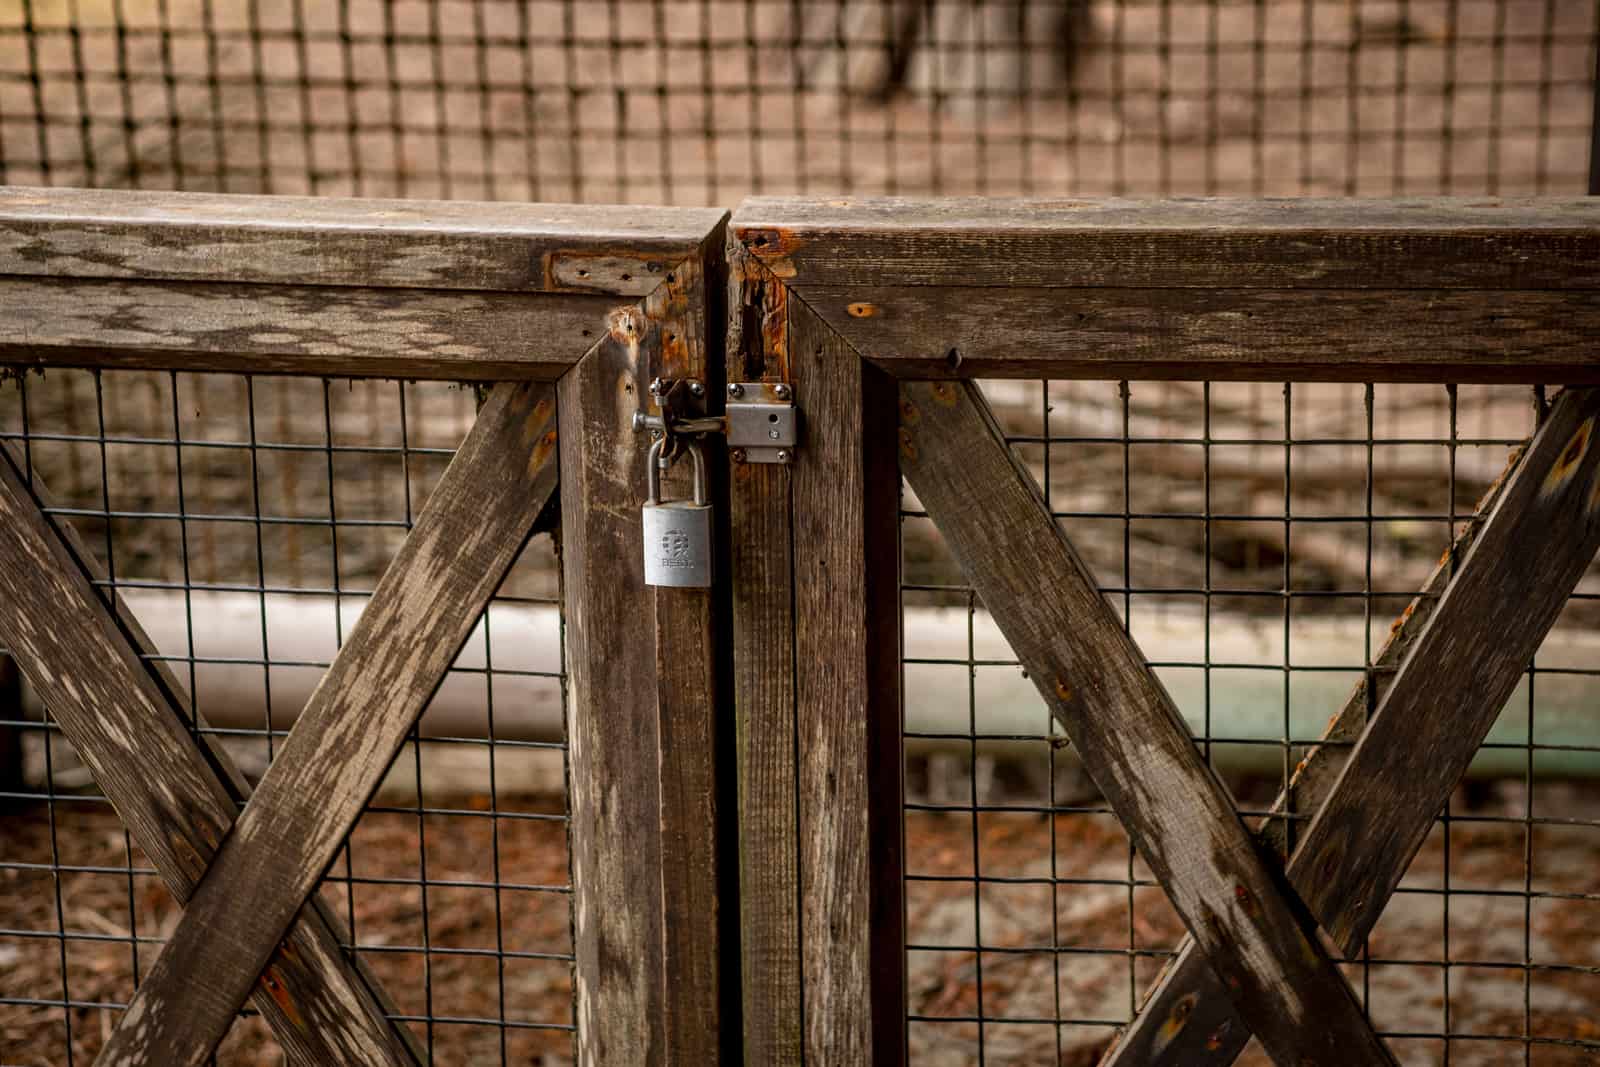
Latches a raccoon cannot open
Why hook-and-eye and spring catches fail, the two-motion principle that works, and where every coop needs a latch it did not ship with.
Stopping predators that dig under the run
Why the apron beats a buried perimeter, how to lay one properly, and how much hardware cloth a typical run needs.
Automatic chicken coop doors
Automatic pop doors compared on trigger, power source, opening size and what happens when it is 10 degrees out.
The closest thing to a predator-proof coop
The coops with the best security starting point, each listed with the exact upgrade it still requires before birds go in.